Showing posts with label beauty. Show all posts

Thursday, January 3, 2013

December favourites!

Hello lovely followers,
i hope you all had an amazing New year's and 2013 has been good to you so far! I personally am so glad 2012 is over, it was a horrible year for me.

But nevermind that, here are my December favourites:


1.  Smashbox Bronze lights in 'Suntan Matte'.  

Ever since my NARS laguna bronzer broke, i have been searching for another matte bronzer. Unfortunately i am in Dubai at the moment and i can't find NARS anywhere so i checked out the smashbox bronzers.  I really love this one, its perfect for contouring (which is what i used laguna for) and it also has antioxidants built into it. I accidently dropped mine a few hours after buying it and it didnt break (thank god).  


2. L'oreal Studio secrets Pro lip tint in 30 Fashion Fuchsia

I've been looking for a lip tint for a while now, and even though the Revlon ones are quite popular, i stumbled across this whilst looking through the l'oreal section in boots.  I LOVE the colour! Its just the colour i was looking for. It gives a raspberry/dark pink tint to the lips and works so well with my skin tone. The colour lasts quite long, and it even tastes like raspberries! My only issue with it is that you really have to layer it up because the pen nip on it is quite dry, but im not sure if its just because i picked up a damaged one.


3. L'oreal Caresse Lipstick in 101 tempting lilac

I've been looking for a more nude pink, but because my lips are naturally quite pigmented its hard to find a shade that doesn't make me look washed out/dead.  This colour is gorgeous! It actually reminds me so much of Snob by MAC, although snob has more lilac undertones. It goes on smoothly and has great lasting power :)


4. Sally Hansen Hard a Nails

My nails were becoming quite brittle recently due to wearing acrylic nails quite often (to stop me from biting my own, gross i know). I was in TK Maxx and came across this beauty! I put this on my nails as a base coat, and not only does it protect and strengthen my nails, but it also helps to prevent chipping!



5. Elf Make up: Mist and set

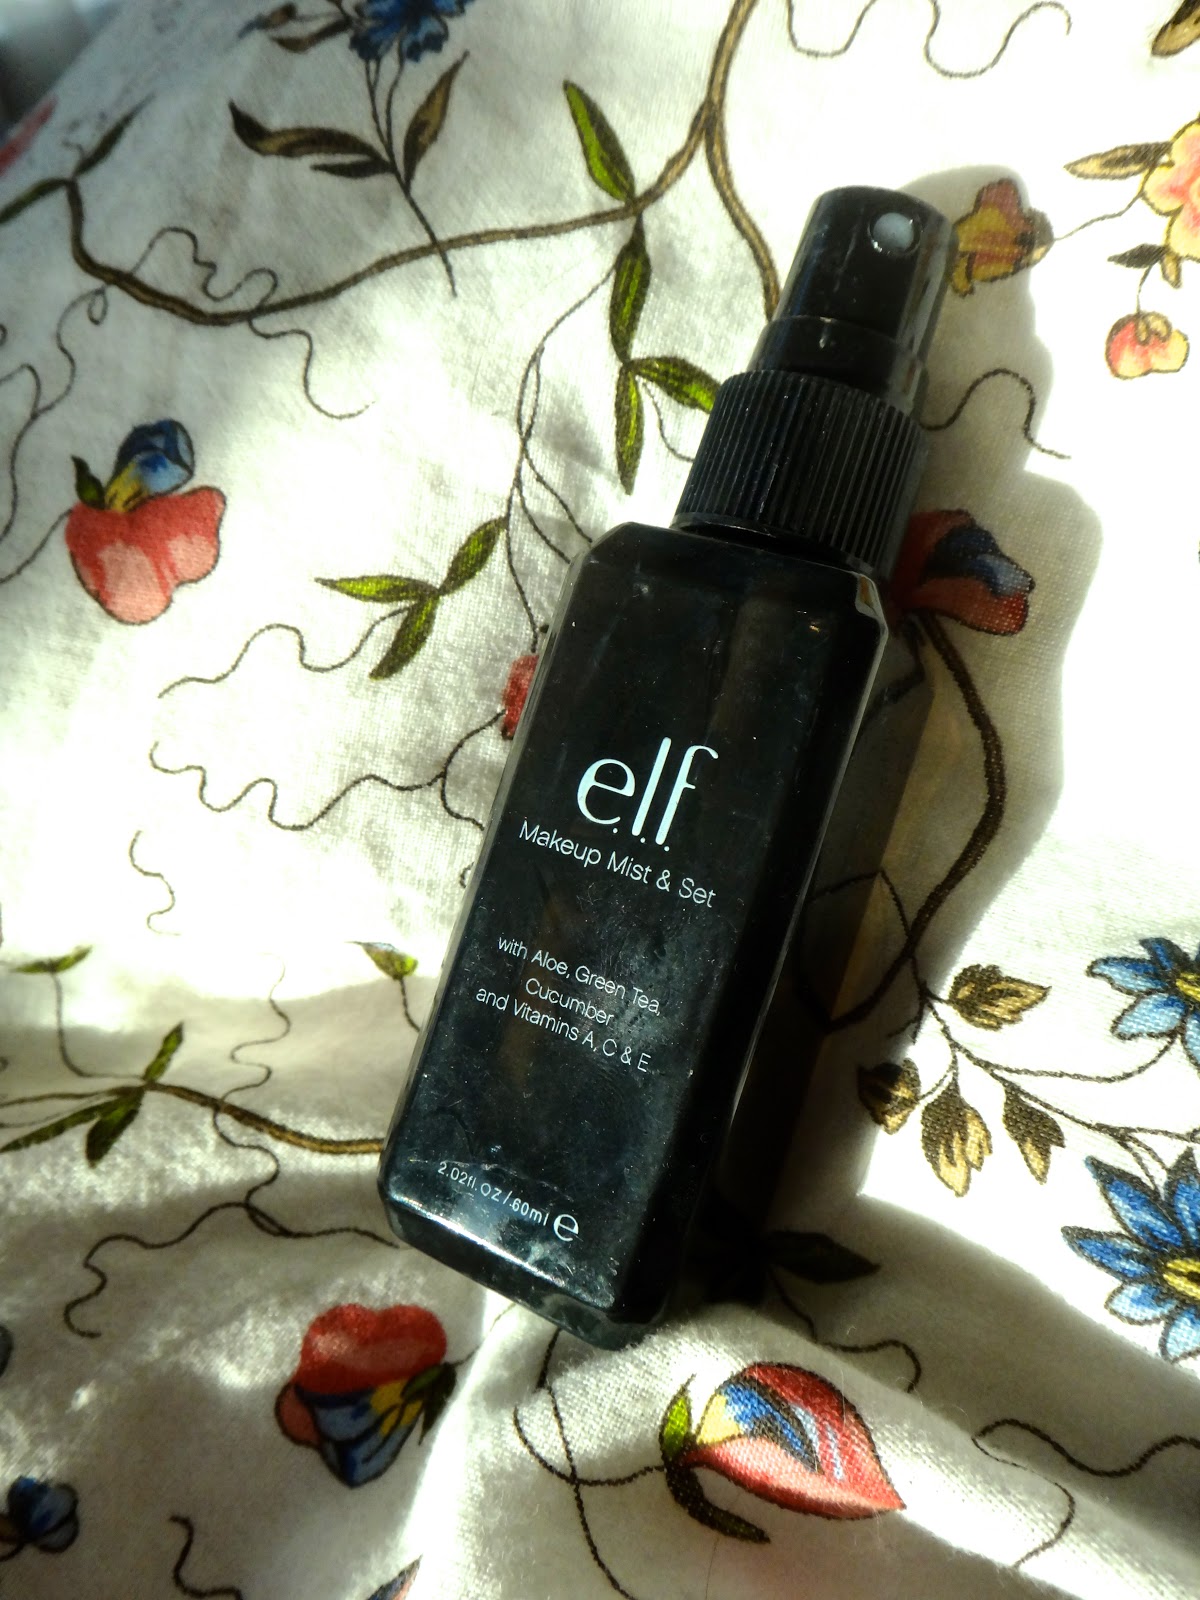
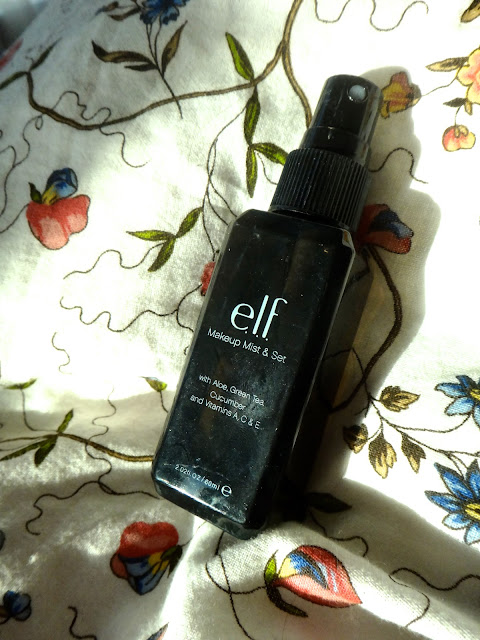
I've been looking for a setting spray for a while as my skin is quite dry so setting powder just makes my face look cakey.  When i was purchasing some other Elf products online i found this and decided to give it a try. I love it! It gives my skin a dewy finish without drying it out, and the extra benefits of the spray such as aloe, cucumber extract , green tea and vitamins A,C and E prevent my skin from feeling and looking too dry.  The perfect way for me to set my make up! My only issue is the nozzle of the bottle doesn't spray evenly and you have to go round and spray sections of your face to make sure its all covered. But for the price you pay (£3) its not really a problem!


6. Sally Hansen: No chip 10 day colour in Red October

Another Sally Hansen nail polish that i found on offer in an outlet make up store, this colour is GORGEOUS. Its a metallic deep red and a nail colour that can be worn all year round. As for the 10 day no chip, i'm not sure if thats true because i bite my nails, they always chip. But i would definitely recommend this! It dries well and you only need 2 coats for the full colour.


7. Naked 2 palette by Urban decay

I have been waiting a LONG time for this palette! I bought this back in November and i have been using it non stop ever since. I love the original naked palette, as well as this one. I usually mix the two for my eyeshadow looks! I am really happy that this palette featured 3 matte shades this time as well in foxy (highlight), tease (crease) and black out (crease).  The palette is full of stunning colours, but they are definitely cooler tones than the original naked palette. All in all, definitely worth the price! 


Foxy, Half Baked, Bootycall, Chopper 
Tease, Snakebite, Suspect, Pistol

Verve, YDK, Busted, Blackout

What are your December favourites?


Tuesday, November 6, 2012

October favourites!

Hello lovely followers!

So October has finally ended and thank god.  The halloween hype in Cardiff is insane and was driving me crazy.  Usually i love halloween but i didn't get a chance to do anything for it this year so i was such a scrooge about it!

Anyway, grumpiness out of the way, i'm doing my very first monthly favourites :-)

this month i have definitely been a lot more into make up and hair care!


1. Wet n Wild: Mega Glo in the colour 'toasted'
I know this looks a bit battered but i absolutely adore this! Its a perfect highlighter that adds that instant sun-kissed glow or dewy effect to your skin.  I've been using this since winter struck in a desperate attempt to hang on to a little bit of summer! A little bit of this goes a long way. It can be used as a cream eye shadow, blush or even lip gloss! Perfect.


2. Rimmel's Kate Moss matte lipstick in the colour: 107

This is a gorgeous fall lipstick colour. The colour is such a rich deep red. I love the fact that the colour is matte as well, i'm not too keen on shiny lipsticks. I would suggest using a lip balm underneath though as it can be a bit drying!

3. Bobbi Brown under eye corrector in 'light peach'
This product is my absolute saviour. I literally cannot go without it since i bought it! I genetically have VERY dark circles under my eyes, and a lack of sleep does not help my situation. Luckily for me, this corrector removes any trace of them! The peachy tone of the corrector not only hides the circles, but also brightens up underneath the eyes, leaving you looking fresh and awake! My only issue with the product is that its £18 for that tiny little pot, but i have yet to find a decent dupe for it. wah!


4. Chanel Perfection Lumiere foundation
I literally love this foundation to death, and i'm so gutted about the £36 price tag! Luckily for me i found a decent dupe, and i even did a post on this which can be found HERE. It just gives such an even and flawless coverage, and has quite a bit of lasting power. Recently i've been mixing it with my rimmel wake me up foundation and its just lovely! 

5. L'oreal Elvive Extraordinary oil for all hair types
This has been an absolute life saver for my frazzled hair! It can be used on both wet and dry hair, and even as a conditioning treatment! I use it the same way i would a serum and add it to wet hair just before i blow-dry/heat style (with heat defence spray of course!) for added protection and shine! my hair literally feels so soft when i use this! 

Hope you enjoyed this! 
What have your favourites been?


Friday, October 26, 2012

Highlights at home: D.I.Y

Earlier on in september, i posted about how i lightened my hair without bleach using Garnier Color naturals in  110 Sandy blonde, the post for this can be found HERE.
Although i was originally pleased with the results, i felt that after a couple of weeks my hair had darkened and dulled. I really wanted a brighter more obvious blonde, and although i really didn't want to use bleach, i had to.

I decided to look into highlighting my hair at home, i researched it for hours on youtube and i found that the easiest way for me to do it would be to use an at home highlighting kit rather than the foiling method.

This is the result! lovely blonde highlights and wearing my new crown and glory hair extensions


This is how i did it:

I used the Jerome Russell highlighting kit:
(image from google)
Within this kit, you're given a highlighting cap a plastic cap to cover,  a long needle hook to pull the hair through the cap, bleach, developer conditioner, a mixing tray and a dye brush.

Step by step:

1. Do a strand test, depending on your starting colour, you may need to leave the bleach on your hair longer to get the desired result.

2. Begin by combing your hair back off your face, and place the highlighting cap on your head

3. On the highlighting cap will be several holes to pull your hair through. Using the needle hook, either pull hair out of every hole, or every other hole (depending on the desired amount of highlights).  The cap is also broken down into sections so you can choose to add all over highlights, or just crown highlights.

4. Once you've pulled your strands through the cap, mix the bleach and developer together in the mixing tray and add to the hair pulled out.

5. Cover with provided plastic cap and leave to develop, make sure to watch the colour so you know when to wash it off.

6. Once desired processing time is reached, wash the bleach off and apply the provided conditioner.  I also added an extra deep moisturiser as bleach can be quite damaging.  If you find that your result is a little brassy, buy a silver toned shampoo to tone the orange down, such as touch of silver or shimmer lights by clairol.

I found a good video on how to use this technique on youtube:

(video found on youtube, user: skindeepbeautytips)


although its a different brand, its the same process!


Monday, October 8, 2012

Review: Crown and Glory hair extensions

Recently i've been looking to purchase new extensions, but i always have trouble finding the right type.
Although i have very fine hair, i like to buy very thick hair extensions in order for them to blend more and have a certain look.

I usually look for double wefted extensions as they offer more thickness, until i stumbled across crown and glory extensions when they started following my twitter. They offer QUADRUPLE wefted extensions! this means each piece you clip into your hair has FOUR wefts of hair.

Reality TV star Louise Thompson from made in chelsea is known to wear them!


the website can be found here:

http://www.crownandgloryextensions.com

The set i bought are 18 inches in the colour 18/613 (200 grams), also known as blonde highlights and cost £89.99. The hair comes in a huge range of colours to choose from. Each set comes with 7 pieces.  Here's an image from their website on where each weft goes:


i know they might sound a little pricey, but for the amount of hair you get, and the quality, its definitely worth it! Websites like foxylocks sell the same amount of hair for £118.  You definitely make a saving using their site.

Here is them taken freshly out of the box.  Look how thick they are!


The hair is made out of grade A indian remy hair, which means that the cuticle of the hair is kept completely intact.  If your extensions are not remy, it means the hair has been chemically stripped and usually wont last as long.


My experience:

I absolutely love these extensions, i've been wearing them for a week and their texture is still the same despite the heat products i've used! Ive had foxylocks extensions before and i find that i much prefer these purely for the thickness, shine and quality of hair. I thought they might weigh down on my head a little but i've had no problem with that so far.  Absolutely love them :) I feel like they're more of an investment as they will last a lot longer than my previous sets bought.

If you want to see a tutorial on how these are clipped in, let me know!

Here is a picture of my hair without the extensions:


My hair with the extensions:


I layered mine though to make them blend more with my natural hair length


Sunday, September 16, 2012

Chanel perfection lumière + cheaper dupe

Chanel perfection lumière review + cheaper dupe:


Despite being a poor student, i am unfortunately such a sucker for branded make up. There have been many times at the end of the month when i'm just eating pasta because i bought myself too much in one month! Recently i have managed to restrain myself and only bought the Chanel perfection lumiere.


Chanel Perfection Lumiere (£36)


'PERFECTION LUMIÈRE controls every detail of a perfect complexion. Its invisible yet perfect correction of all types of imperfections and its "multi-faceted" radiance, colour, comfort and matte finish create a perfect complexion. Universal shades, an easy application, a light texture that glides on seamlessly, adjustable coverage: perfection has never been so simple' According to Debenhams.

I bought this foundation back in August, tax free between finland and sweden and have been using it everyday since. Despite the £36 price tag, i adore it!  


My foundation is in: 50 beige. 

Coverage: its about a medium coverage, but you can build it up if you need more. It really does well to leave a flawless and perfecting look and I find that i dont need to use too much to get a 'radiant' but still natural look.  Not only does it cover the redness in my cheeks, it also illuminates my face to make it look bright and awake. I find it gives me a more 'dewy' look rather than matte. It also has SPF 10. I always make sure my foundation has at least 10 SPF to protect my skin. 

skin type: if you have oily skin, i'd avoid this. Your face would look more oily rather than dewy. It is good if you have either dry or normal skin. But be warned, it will cling to overly dry skin and just make it look worse. It sets well with powder without the surface looking too 'powdery' if you know what i mean.

Pros: good coverage, SPF 10, dewy effect, soft, smooth and easy to blend
cons: price, small bottle (30ml), not good for oily to combination skin.

here are examples:


It almost looks like the foundation is my own skin, but 100x better!

Unfortunately, the price is really offputting. However, i've been using it since august and its still got quite a big product left. As a lowly student, i can't afford to pay £36 every time i need new foundation! 

If you don't want to fork out £36 pounds for the chanel, there is a good drugstore/high street alternative that isn't too pricey but gives a similar effect!


Dupe:
L'oreal lumi magique (£10.99)

Colour is Rose Sand

colour is Rose Sand
(wearing lumi magique)

"With age skin can becomes dull and tired. L'Oreal Lumi Magique Foundation helps give instant skin radiance. You will be glowing inside and out" boots

Again, the idea of this foundation is to give medium to buildable coverage as well as radiance. This too lights up your face and give a more dewy glow. Again, if you have oily skin, i would avoid this product (unless you are willing to blot/powder the whole day). At a price of £10.99, how can you say no??

Coverage: Like the perfection lumiere, this gives medium to buildable coverage, with radiance enhancing qualities. I find that in comparison with the chanel, its coverage is about the same.

Pros: Price! (£10.99 instead of £36!), radiant glow, easy to use/blend, same size as chanel but much cheaper (30ml).
Cons: size (30ml) easily used up if you wear foundation everyday, no SPF (that i can tell from bottle or description), again not good for oily to combination skin.

Overall, i adore my chanel perfection lumiere. I love the finish it gives me! however, when there are other products like lumi magique for cheaper, i may have to give up the chanel and trade in for l'oreal. Otherwise my bank is gonna start hurting :(


Wednesday, September 12, 2012

How to go from light brown to blonde: Garnier Color Naturals 110 review!

Let me give you a little background into my hair, it was originally a highlighted blonde pictured here: (my face was blurry so i blacked it out, sorry!)

And as usual, i got bored and dyed over it.  This time i decided to dye it a copper brown with ombre blonde tips.  I don't know why i always try and go darker, because i end up missing the blonde and having to go lighter again!
This was the colour of my hair when it was ombre. luckily for me the colour didn't last long thanks to the swedish sun + dandruff shampoo

And it faded to this:


I thought i was going to have to make a trip to the hairdressers and have gradual highlights done again (the slowest, most irritating way to go light without any ginger mishaps), and as i am in Dubai at the moment, i really struggled to find any hair bleach in any of the stores to do it myself. But then i stumbled across this in the super market:  Its called Garnier Color Naturals in 110 Sandy Light Blonde. 


Now usually i would avoid blonde box dyes like the plague as they are usually a recipe for a ginger disaster and an expensive trip to the hair dressers, but something drew me in. It states on the box that it will lighten hair 3 to 4 tones lighter, which for me was perfect as i wasn't planning on going too light. This is what is known as an 'extra lightening shade' which can also be found in brands such as l'oreal feria metallic silver blonde
The key is to look for the words 'extra' or 'ultra' lightening. This means that the dye alone will lift your hair colour without needing to bleach (depending on your starting colour). I know clairol do some excellent ones as well! However, this garnier was all i could get my hands on.

 I originally planned just to add highlights using a foil technic but ended up just applying it to my whole head as i lacked patience!  my natural root colour is a light ash brown (the mousy brown kind) so i was a little worried that my roots might end up turning orange! I watched the dye carefully for 30 minutes and then rinsed with the conditioner provided in the box.

And here is the result:
A light sandy blonde with remaining highlights!  it looks natural, and i managed to avoid the clown orange tones somehow! 


Monday, September 10, 2012

Welcome to my blog

I've decided to start up a beauty blog after about 2 years of constantly watching beauty gurus on youtube! Some of my favourites include BeautyCrush, DizzyBrunette3, AndreasChoice, DollyBowBow and a newer blogger lulutrixabelle :-)

Here i will be reviewing all my favourite beauty products, fashion, introducing make up tutorials and giving tips on healthy eating/living.

i'm considering also starting up a youtube channel :-)

Enjoy!