Saturday, November 2, 2013

YSL Touche eclat Foundation + Review

I know i've been MIA for almost 3 months now, but unfortunately this year has been so tough on me that my blog had to take a back seat! 

But, i am back now, and with a review on my all time FAVOURITE foundation.

The Yves Saint Laurent Touche Eclat Foundation.


RRP: £29, shade BD 40
Described as "Yves Saint Laurent adopts a leading edge technology that transposes the magic of this legendary highlighter into a foundation to achieve the same illuminating result for the entire face. Yves Saint Laurent introduces LE TEINT TOUCHE CLAT. A bold, unique formula to target shadowy areas and define contours. Infused within a weightless fluid, the light of Touche clat foundation targets shadowy areas and highlights the contours of the face. Free of opaque powders, its perfecting texture evens the complexion and helps conceal imperfections, while enhancing your skin's natural beauty." (Debenhams website).

It really does all these things.  I feel like whenever i wear this foundation, my face just glows and looks incredibly healthy.  

I personally suffer from quite dry skin, so for me, this is perfect. Its moisturising and it doesn't settle in any fine lines in the face. Honestly, since using this foundation, i cannot going back to using any other, which is bad for me because at £29 a pop, it does hurt the bank balance!


Foundation on the far left, as you can see, i like YSL products heehee.

Now down to the nitty gritty:

Coverage:  I feel that this foundation for me personally, gives a light to medium buildable coverage. I have generally clear skin so in terms of coverage, its great for me.  Maybe avoid it if you're looking for something higher coverage, although it is build able. For me, it just looks like my natural skin but much better! i love the natural look it gives.

Skin type: If you have dry skin ladies, this is for you. I have such bad luck with foundations in terms of them making my skin look dry or cakey, but this is just the perfect consistency. However, if you have oily skin, i would avoid this as it may only make you look shiny. It also contains SPF 19 to protect your skin!

Finish: The finish is a radiant and dewy finish. I know some people prefer to be more matte during the winter but i personally love the dewy look all year round. This foundation gives me a healthy glow, even in this harsh Welsh weather.

Colour match: For me, BD 40 'Beige' is THE perfect colour match for my skin.  I would definitely recommend going to a counter and getting colour matched because for £29 a bottle, you don't want to get the wrong colour. My skin is naturally very warm toned, and i find most foundations come up too pink on me, but beige is the perfect warm tone for me.


Pros: Gorgeous, natural finish. Dewy, radiant. Very easy to blend and buildable. 
Cons: At £29 a bottle for 30ml, its pretty expensive to continue buying, and its not great for oily skin.

wearing the touché éclat foundation
Have you tried the YSL touché éclat foundation?


Thursday, May 9, 2013

My Hair, my extensions and how i style them

Hello lovely bloggers,
A second post today! I thought i would put up a post about my hair.

I have very fine swedish hair, that doesn't grow past a certain point (it doesnt go further than my shoulders) so i have to wear extensions most of the time if i want fullness/length.

I've used A LOT of different types of extensions, from fusions to just regular clip ins, and i've actually done a full detailed post about those and my opinions on them here.


To give you an idea of my natural hair length, here is a photo with my extensions in:


As you can see, it's quite short.  I know it looks a little scruffy/damaged here, but i assure you, its actually in great condition considering my constant hair colour changes.

Anyway, on to the extensions i use.

I used to wear the Crown and Glory quadruple weft extensions (ridiculously thick extensions) review here, but when i went to go repurchase another set, they were out of stock.

So i decided to go back to a brand i had used before and liked, Foxy locks extensions.
The set i use are the 'superior set in 215gm' in the colour 'imogen blonde'. The same amount as the set i bought from Crown and Glory, but they were a lot more expensive at £120!

I do, however, love them! The clips on the extensions are great and stay in place.  I can literally swing my head around and the extensions would not even slip.  They don't weigh  my head down either like the Crown and Glory set did.

How i put them in:

I always make sure i have blow dried my natural hair with volumising spray, so my natural hair is nice and full.

Each set comes with wefts to place in.

In a set:

3 clip weft: x2
4 clip weft: x3
2 clip weft: x2
1 clip weft: x4

Working from the bottom, i use the 3 clip wefts first, followed by the 4 clip wefts on top of those. The two clip wefts are used for the sides (one on each side) and the 1 clip wefts are used anywhere on the head where you need more hair.

The creator of the extensions actually has her own youtube, and has SO many tutorials on how to do all different hairstyles using her extensions.

Here's her tutorial on how to clip them in:


How i make them blend:
I find that leaving the hair dead straight often doesn't blend well with your natural hair. So i will usually either use my heated rollers separately and let my extensions curl whilst i do my make up. Or, i'll put all the extensions in my head and then apply the rollers all over my head and proceed to do my make up.
This way, your hair and the extensions blend and make it appear as though its your own hair!

with the rollers in, attractive!

freshly rollered hair!

The rollers i use are the enrapture rollers.

Have you ever tried extensions?


my MAC lipstick collection + swatches on the lips

Hello lovely bloggers,
I'm so sorry i haven't posted in a while, and that i was meant to be posting more regularly, but due to both work and uni, its hard to balance my blog as well.

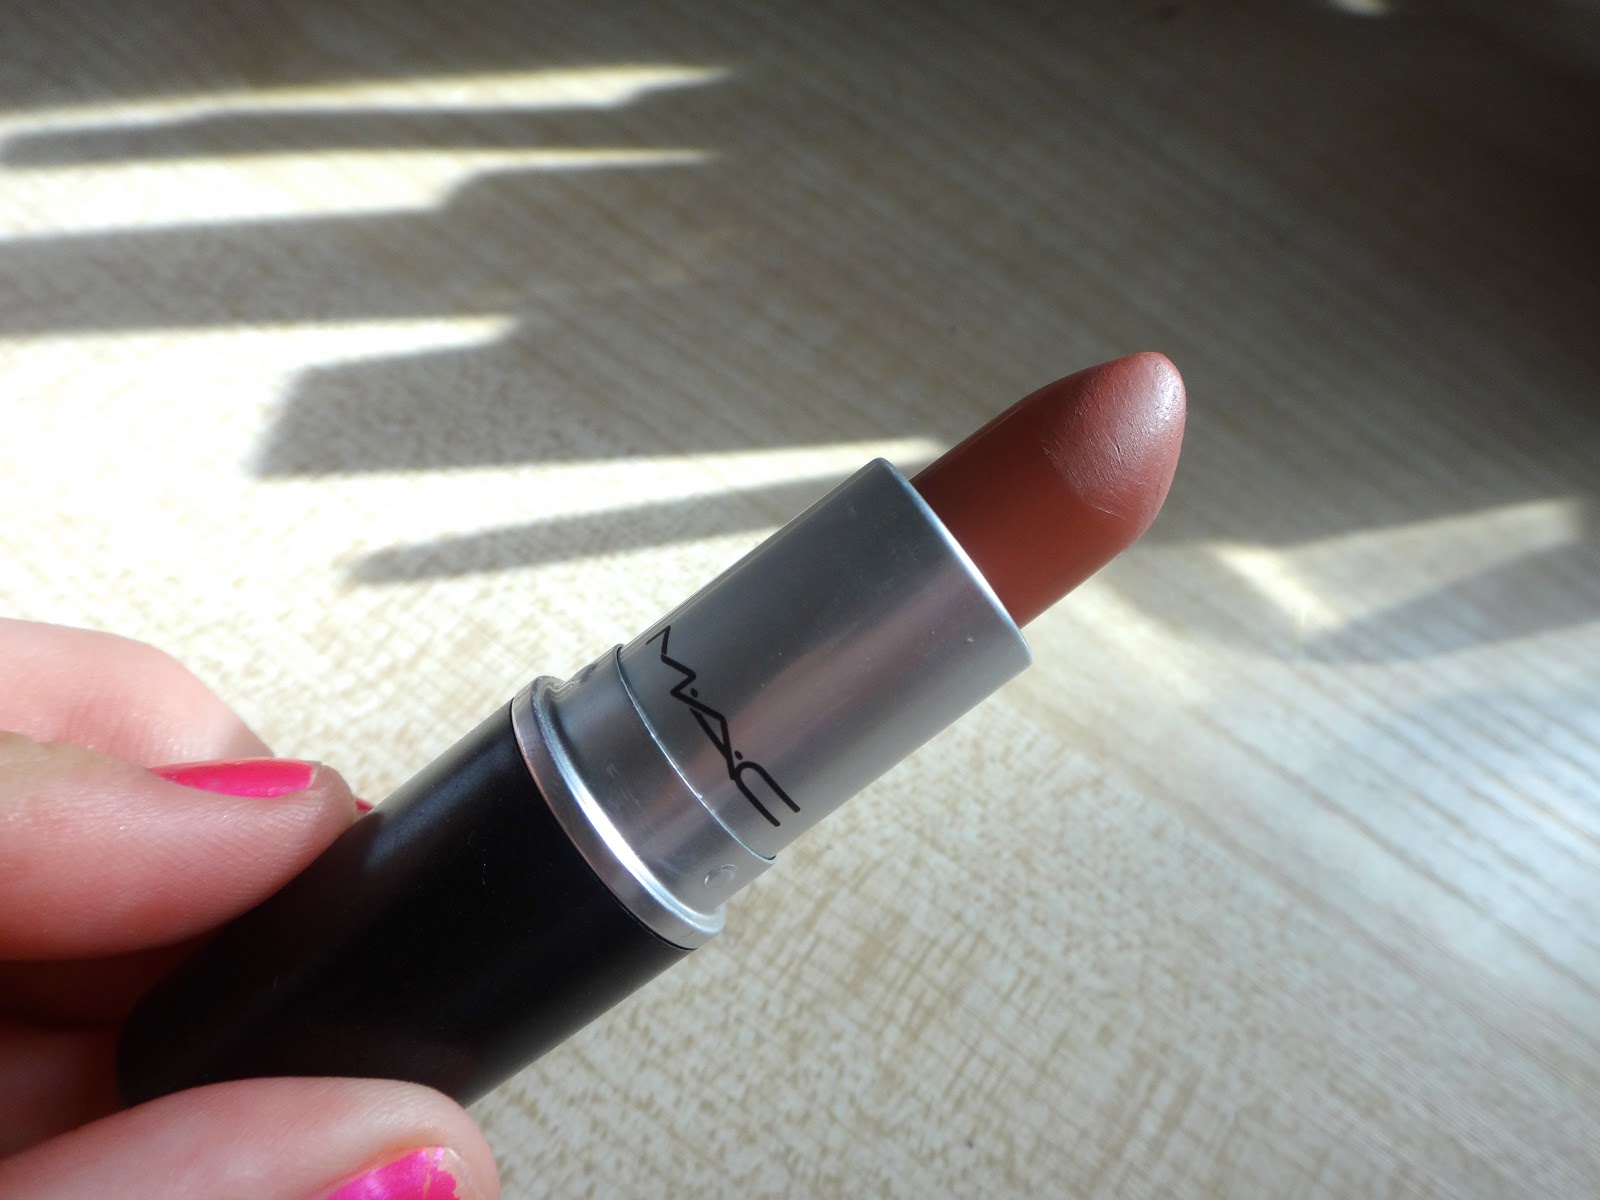
But, seeing as i just purchased a new MAC lipstick, i decided to post my collection so far! I absolutely love their lipsticks, and probably my favourite products from MAC.

my collection so far :)
 1st up: Cremecup
This is a cremesheen lipstick, and definitely one of my favourites! Its a gorgeous light blue pink that is perfect for everyday wear.  It also goes amazingly with a dark smokey eye.  The formula is very smooth and moisturising, and quite sheer.  You need to swipe it on your lips a few times to build up the colour.
Wearing Cremecup

2nd up:  Blankety
This is a soft pink beige (as described by mac) and the formula is amplified. This means the colour is very strong, and it goes on very opaque.  I absolutely love this colour when i do a smokey eye, or even just as my everyday summer lip colour. I did a review on it before which can be found here


Wearing Blankety


 3rd: Velvet teddy
Again, another nude shade, but this one is a much deeper tone. I find that its quite a sophisticated nude, a deep tone beige. Its almost a brown but i find that if paired with the right make up, its a really classy look! Again, i reviewed this in the same post as blankety found here. The formula of this is matte, so it is a bit drying.


Wearing velvet teddy


 4th: Snob
It seems like i have a lot of pink and nude shades from MAC! But its only because they're the easiest to wear. This one is a very pale almost lilac shade of pink, and one of their really popular lipsticks. Although, i'm not really a big fan of it. Because i have quite a warm complexion, the lilac tone of the lipstick washes me out. The formula, however, is really nice and smooth as its a satin finish. It almost has a slight gloss to it.


Wearing Snob


5th: Ruby Woo
This is my absolute favourite. Its one of the shades i picked up most recently, and it really is the perfect red. Its a 'vivid blue red' as described by mac. Although i originally thought because of my warm complexion that i would have been better suited to Lady Danger, i absolutely LOVE this colour. Its a matte finish (extremely matte, and quite dry, but i personally quite like that) and it doesn't budge at all from my lips. Its such a gorgeous 'retro' red colour. Very vintage pin up. I can't wait to pair it up with a winged eye.


Wearing Ruby Woo


Lastly: Morange
This is a bright orange lipstick, described by MAC as a 'loud mouth orange'. Although before i would have avoided any bright lipsticks like the plague, i've been really getting into my bright colours! I love the shade of this lipstick, and i feel like if you're quite tanned, this will really suit you. The fact that the formula is amplified just makes the colour so vivid! Again, i have done a review on this shade before, found here


Wearing Morange


And that's my collection folks!
Have you tried any of these shades? What's your favourite mac lipstick?


Saturday, April 13, 2013

GIVEAWAY winner announced! - Naked Basics palette!

Hello lovely bloggers,
As you know, i've have been hosting a 100 follower give-away on my blog, and for travel reasons, i've had to end it a few days earlier than expected (i am so sorry if you didn't get a chance to enter, but its out of my hands :( )
I can't change the date of when the contest ends, so please don't enter anymore, i have closed this give away!

Anyway, the winner is....


Amber from Amber Love! :)   blog here

a Rafflecopter giveaway

I have sent you an email now asking for your address so i can post your prize to you!

Thank you to everyone who entered/followed/and tweeted me, i appreciate every single one of you and i wish i could give you all this palette!


Wednesday, April 3, 2013

100 Follower GIVEAWAY! NAKED basics palette by Urban Decay

Hello lovely bloggers!

I have an exciting post for today, i have decided to open my giveaway! I wasn't sure what to giveaway for a while, i wanted the prize to be something special for my first one :)

So, the prize to be won is -drum roll-


the NAKED basics palette by Urban Decay!  A beauty staple and raved about across the beauty community. It is a great staple, and very versatile.


Rules for the giveaway:

1. You must be following my blog, i will check to see whoever wins is following. 
2. Only one entry per person.
3. Giveaway ends on April 13th and winner will be selected randomly using rafflecopter.

When the winner is selected, i will message you and ask for your address so i can arrange posting the palette to you. 


Ways to up your chance of winning:

1. Follow me on BlogLovin as well.
2. Follow my twitter
3. Tweet about the giveaway (again, i will be checking tweets/mentions)


a Rafflecopter giveaway


Hope you enter my giveaway! Definitely excited to for my first one :)
Thank you to all those who have followed me, and got me this far <3 


Saturday, March 30, 2013

NOTW: Stiletto nails in Barry M's 'Bright red'

Hello lovely bloggers,
I haven't done a nail post in SO long! 

I've been seeing stiletto nails absolutely everywhere recently. They seem to be all the rage. A
Although i originally did not like the pointed tips, they've really grown on me. So i decided to use artificial nails to create my own!


To create the actual stiletto/almond nail shape, i followed this youtube tutorial.  Its so simple to do, and looks just as good as having your nails professionally done! 


I painted the nails before i applied them though so they would remain neat, without smudges (i'm terrible when it comes to letting nail polish air dry on my actual nails). This is why they look so sleek/neat for a change!


The colour i used is an old favourite of mine. It's Barry M's nail polish in the colour 'Bright Red'. Its such a gorgeous post box red colour, and is by far my favourite tone of red to wear. Its so bright, yet still remains quite a classy colour to wear.  It also looks amazing with a tan!

opaque nails from ebay, found here 

Due to my terrible nail biting habit, i have literally no nails, so the only way i could actually do this look was to use artificial nails. The nails i used were from an ebay seller found here.  For 200 short/medium nails in the colour 'opaque', it only cost me £2.99 + 99p postage.  Pretty cheap! And the nails are great quality. BEcause they're all attached together, it makes it so easy to paint them before attaching them to your nails. They do come with their own nail glue but it isn't as good as this nail glue (1.99 for two bottles, and they last AGES).

I'm finding it hard to adjust to having long nails, but i love the way the look so i'm making myself get used to them!


Have you tried stiletto nails? What do you think of this nail style?


Thursday, March 28, 2013

March favourites:

hello lovely bloggers,
i realised i haven't actually written a 'favourites' post since december, whoops! but that's mainly down to how busy i've been with uni work and such.

So here's my march favourites!


Above is all of my beauty favourites for this month! I know some of them have been featured on my blog before but they really are becoming my holy-grail products!


First up:  Nails

left to right: prickly pear, blueberry, green berry

I have really been loving the Gelly Hi-Shine nail polishes from Barry M! the shades are gorgeous for spring summer, and i can't wait to develop my tan this easter to wear these with.  They have a high shine finish (obvious from the title) almost like a gel manicure. My favourite part about these shades is how quickly they dry. I hate waiting for my nails to dry but these are so quick! i have been wearing a lot of greenberry and blueberry. They retail for £3.99 (unlike the usual Barry M shades that are £2.99) but they are more than worth it! 


Eyeshadow:


The original naked palette will always be one of my favourite palettes of all time. The colours are gorgeous and suit absolutely everyone. I wear this palette a lot, but more so this month. You can see from the photo how battered mine is.  For a day look, i wear sin on the lid, with buck in the crease, and smog in the outer corner.  For a night look, i wear half baked on the inner part of lid, smog on the outer corner, and a mixture of darkhorse and creep in the crease and outer V.
It does retail at £36, which is a lot for a palette, but i've had this since november 2011, and its still going strong! Definitely worth the money, especially with how much i use it.


Lipsticks:

left to right: MAC cremecup, MAC morange, Maybelline Coral Tonic
MAC Cremecup: I've worn this practically everyday this march. Its such a wearable colour and goes with so many different eye shadow looks. Perfect!

MAC Morange: I reviewed this on my blog a few posts back which can be found here. Its a gorgeous orange/red lipstick. Perfect for those who want to try an orange lipstick, but still want to play it safe with the red tone. It goes perfectly with a tan!
example of morange on the lips
Maybelline Coral Tonic: This is a recent purchase but i love it! Its a bright coral pink, in the photo it looks so similar morange, but its definitely more of a pink/orange. Perfect for spring/summer!


Face:
 

Smashbox photo finish foundation primer: This is perfect for me as a primer.  Its oil free so no chance of breakouts, and it helps my foundation slide on smoothly! I've found that it blurs any pores/imperfections i have, and at the same time, my skin looks flawless when photographed! I've noticed how different my skin looks when photographed wearing this.

MAC Fix +: Again, i reviewed this in another post, found here.  I just found that this is perfect for setting my foundation and giving my skin a dewy complexion.  As i have dry skin, it is prone to looking a little cakey with powder on, but a couple spritzes of this and voila! dewy perfection a la Millie Mackintosh.

MAC paintpot in 'Painterly':  This is another recent purchase and i wasn't sure whether to put this in the eye shadow section because i actually use it as an eyeshadow primer.  For me, it is the perfect base for my eyeshadows and helps show their true colour.  I will be doing a full review on this within the next couple of days that includes swatches and closer pictures.


What have been your favourites this month?